Guidelines
Login page
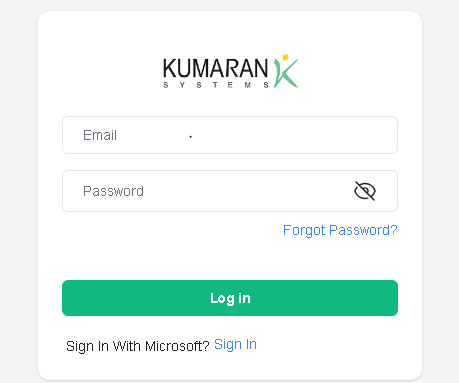
Database Authentication
This method stores user credentials in the database and verifies them during the login process.
Microsoft Authentication
This method enables employees to sign in using their Microsoft Azure AD credentials.
LDAP Authenciation
This method enables employees to sign in using their Microsoft AD server credentials.
Dashboard
Use the dropdown filters to refine your selection of employees based on their work location, division, and project.
After selecting multiple employees, click the search icon beside the “Select Employee” dropdown.
This action will display detailed information such as a working summary, logged on system IP addresses, productive and unproductive apps usage hours, and holiday summary.

Working Summary
This section presents a comprehensive overview of the selected employees work activity, detailing logged hours, actual working time, idle time, productive hours, and unproductive hours. Idle time reflects periods when the system was inactive.
Devices
Displays device information such as IP address, username, and the last captured date.
Working Summary Graph
Visual representation of the working summary, showcasing data for the selected time period.
Application Productivity Graph
Visual representation of the application usage, categorizing applications into Productive and Unproductive based on the project context.
Holiday Working Summary
Note
Only managers and administrators can view this working summary.
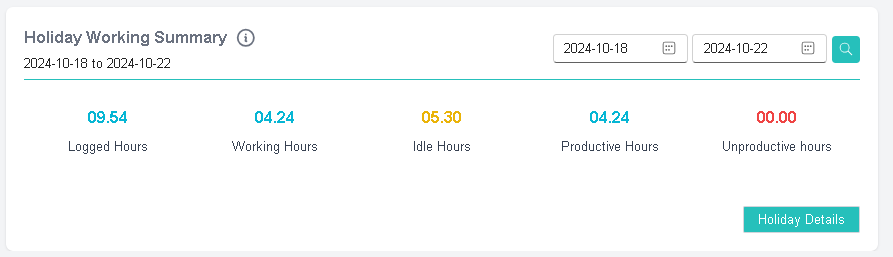
Shows the working summary of selected employees during designated holidays and weekends.
Team Information
Note
Only managers and administrators can view this page.
Employee Dropdown
The list of employees displayed in the dropdown is based on the role:
Admin: All employees in the system.
Manager: Only the employees reporting to them.
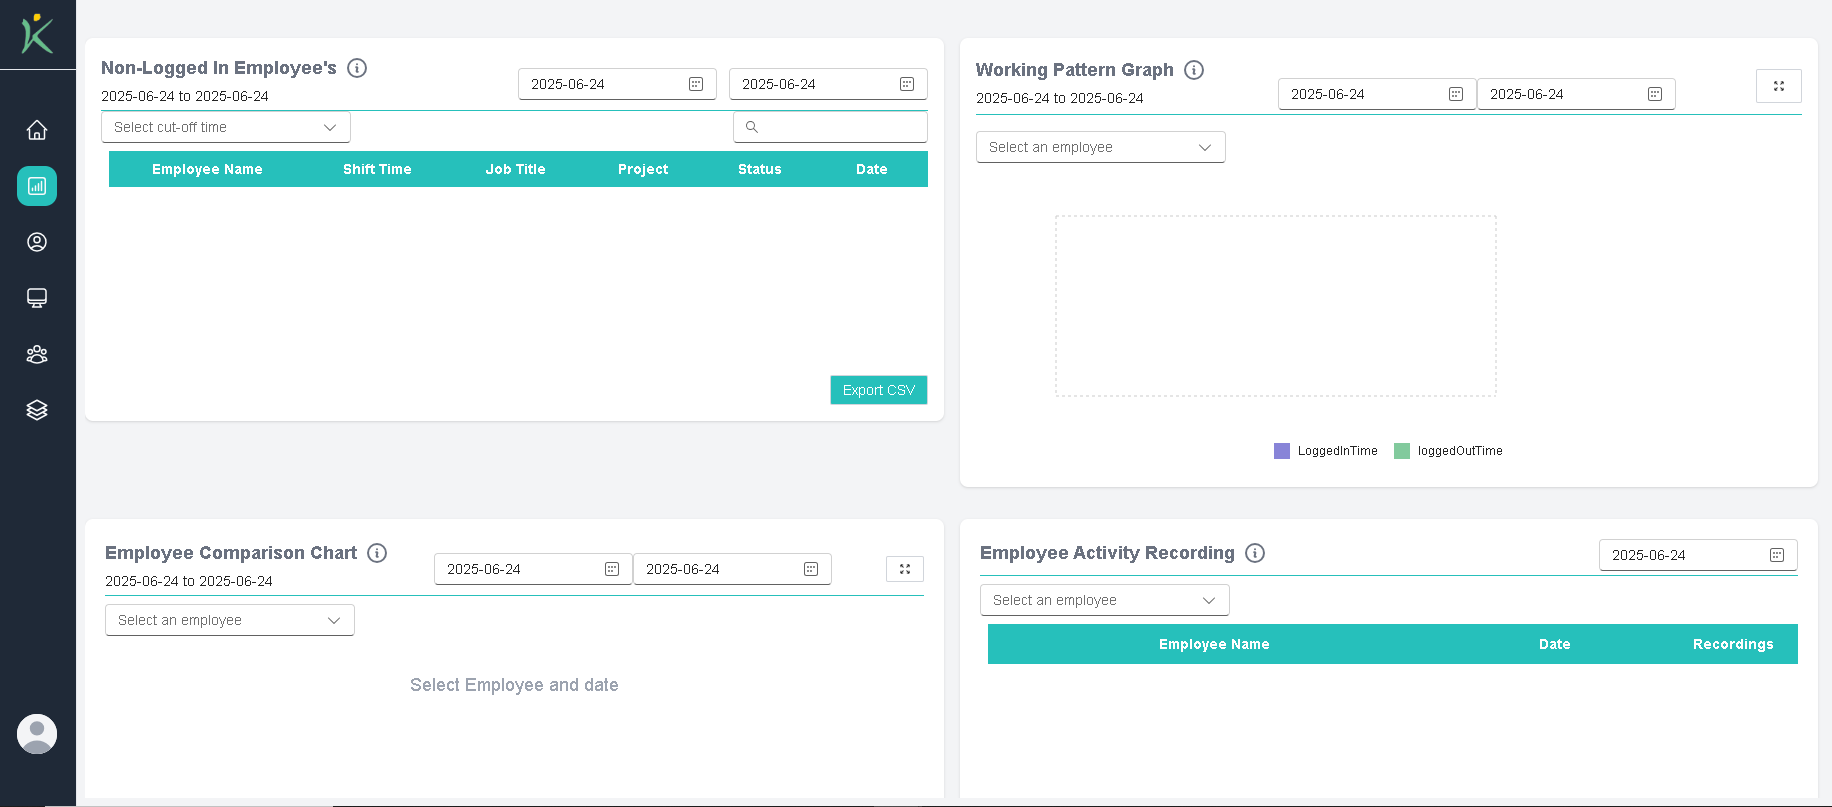
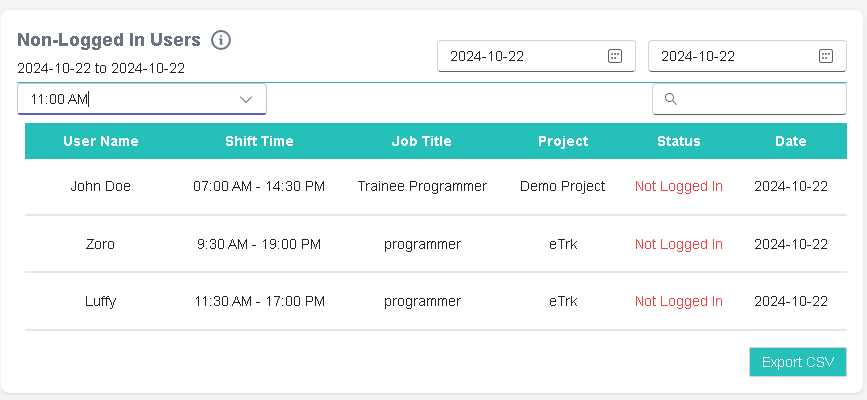
Non-Logged employees
View all employees who have not recorded any working hours or activity within the system as of the chosen cut-off time.
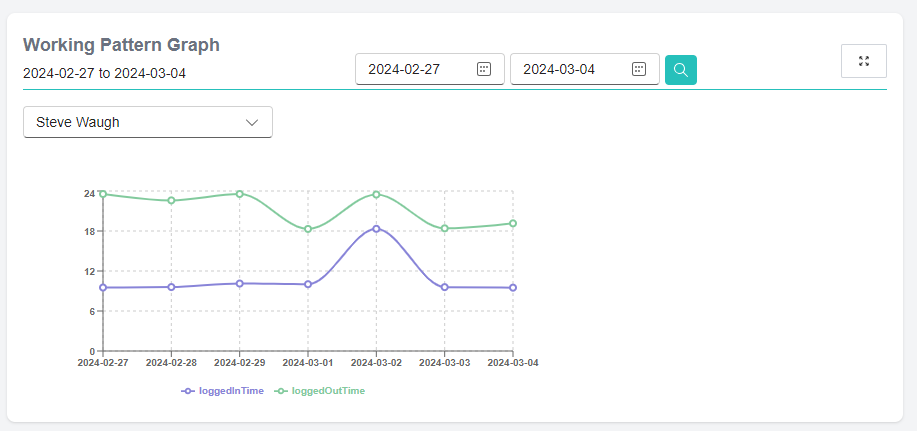
Working Pattern Graph
View the selected employee login and logout times graphically between the selected time frame.
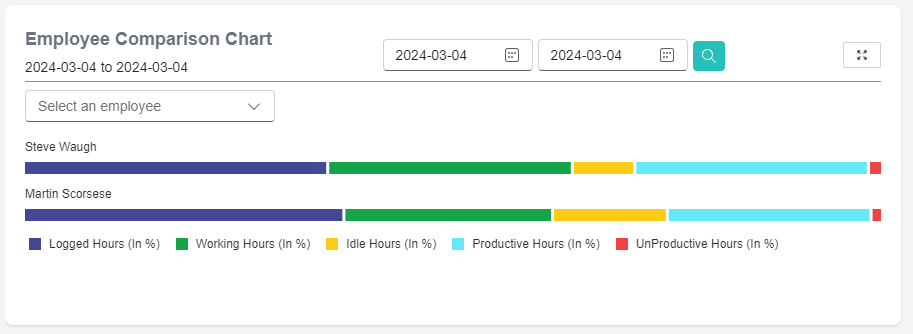
Employee Comparision Graph
View the selected employees working summary graphically for comparision.
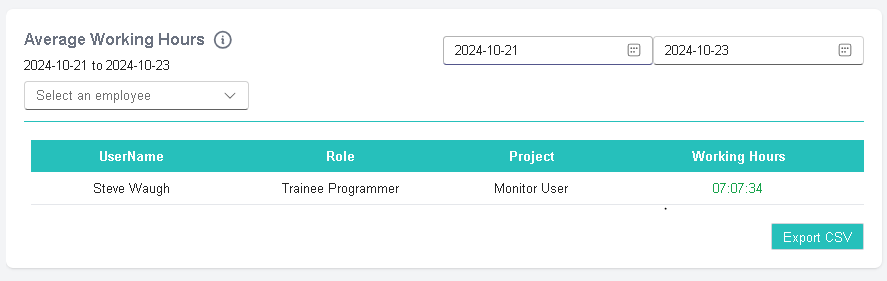
Average Hours
View average working hours of the selected employees between the selected time frame excluding weekends and holidays.
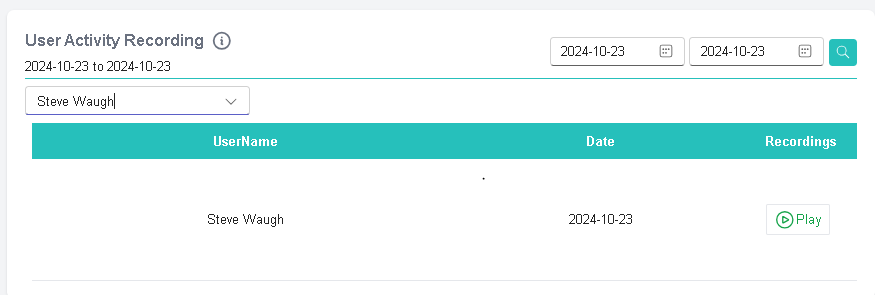
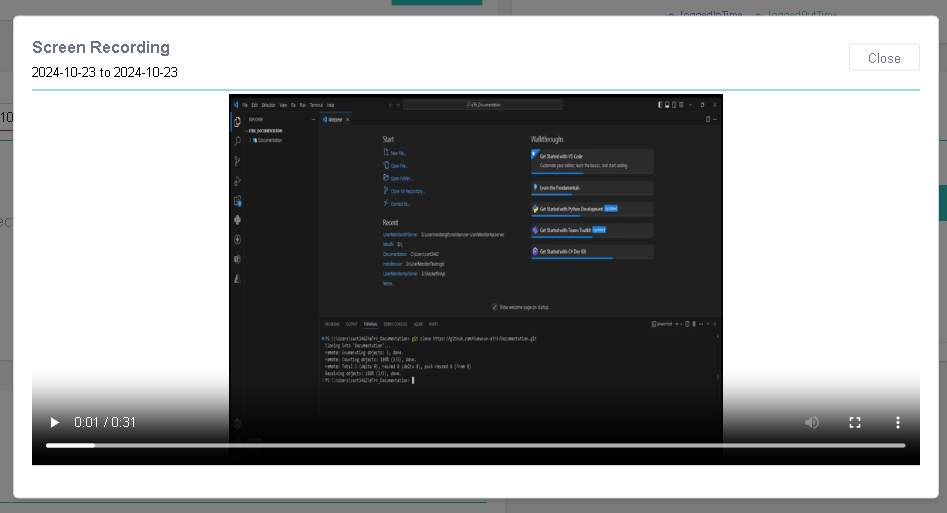
Employee Recording
View the short video of captured screenshots of the selected employee.
Admin Console
Note
Only administrators can view this page.
Add Applications
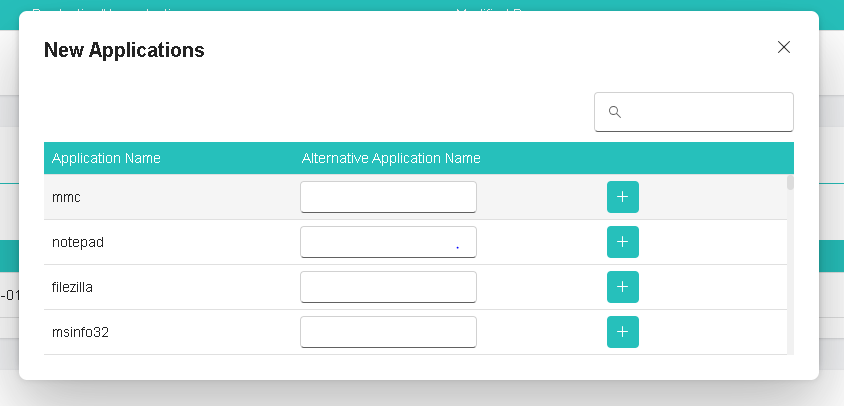
These application names are captured by the eTrk Agent, and assigned meaningful names for user convenience.
To create a new application, click the “Create New Application” button on the Application Widget.
Enter the alternative name for the application and click “Save.”
Note
Please note that only one application can be added at a time. multiple applications cannot be created simultaneously.
Add Applications based on projects
To map the created applications to the projects, click the plus icon button on the Application Widget.
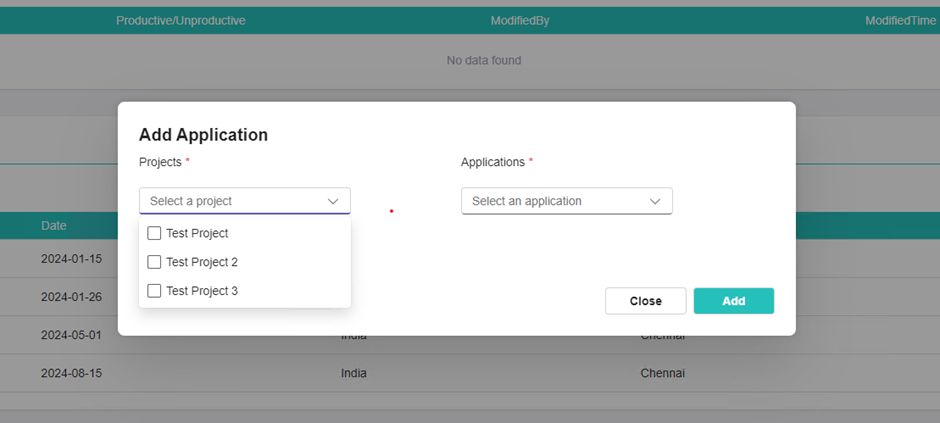
In this section, use the project dropdown to select the desired number of projects, and use the applications dropdown to choose the applications you wish to associate with those projects.
Note
Once you create the new application, don’t forgot to map the application to the projects.
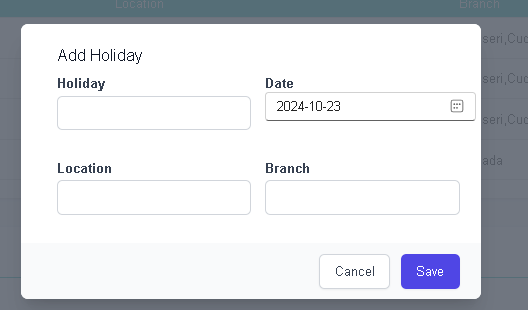
Add Holidays
This section allows you to add employee holidays. The working hours recorded on holidays can be viewed in a separate tab on the dashboard page.
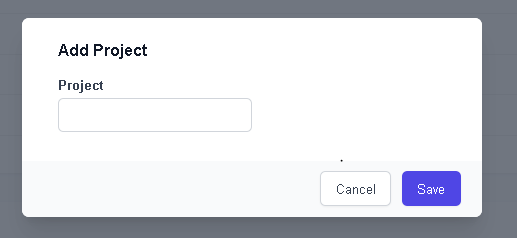
Add Projects
This section allows you to create new projects.
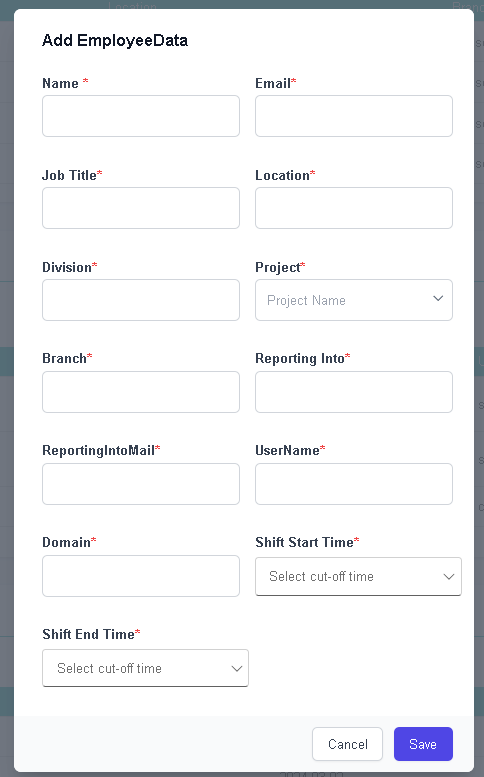
Add Employee
This section allows you to add employee details.once the eTrk Agent has been installed on their respective systems.
Note
the username and domain name should be same as in your database in usermetadata table.
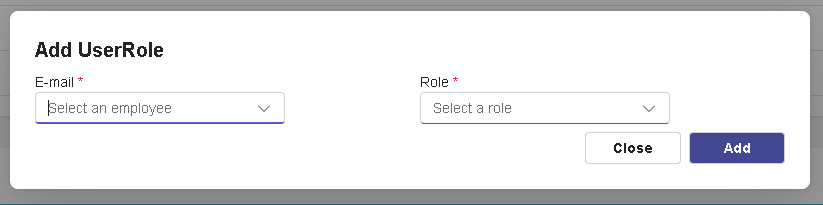
Add Roles
This section allows you to assign roles using the employee’s email ID.You have the option to assign roles such as Administrator, Manager, or System Administrator
Note
Each employee can have one or two roles. The web portal dashboard interface will vary based on the assigned employee roles. The default role is User.
System Console
Note
Only administrator and system administrator can view this page.
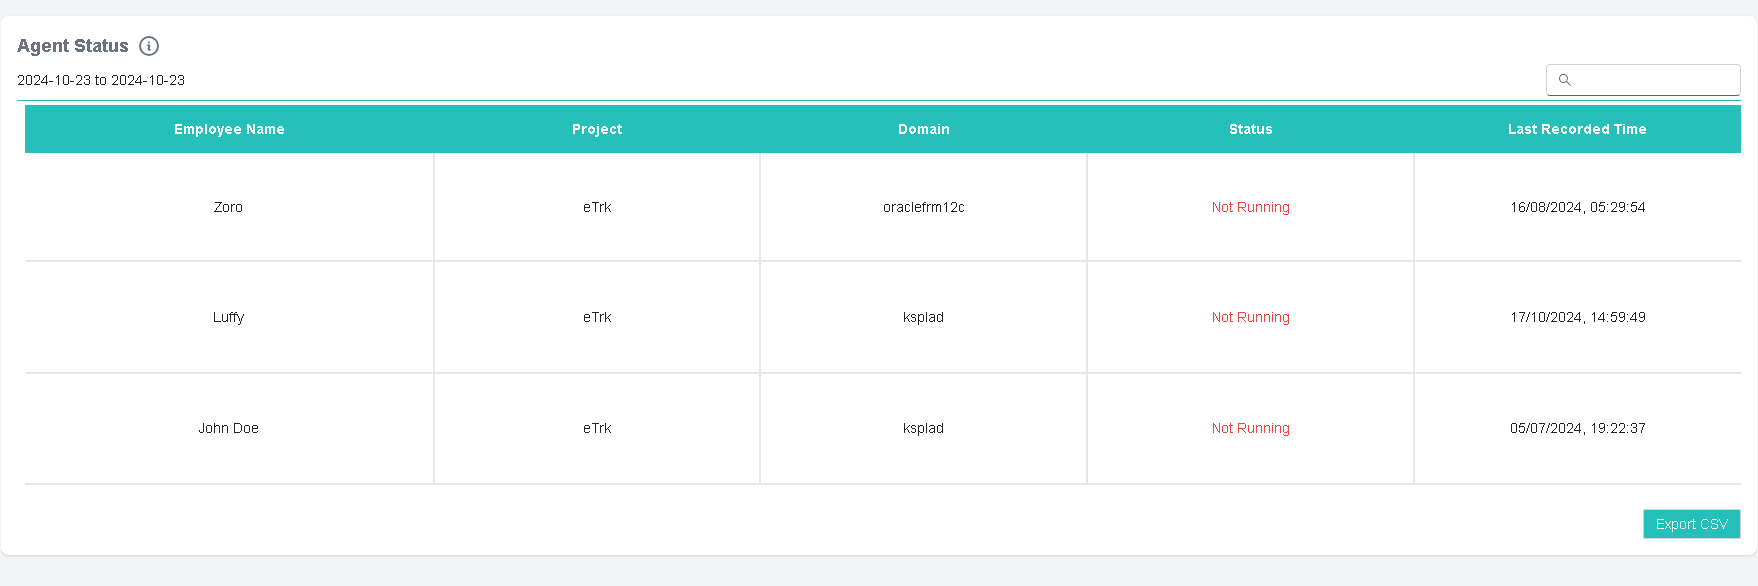
In this section, you can verify whether the monitoruser.exe background process is running for all employees on the current date.
Additionally, you have the option to export these details as a CSV file.
Extension and Softwares
Note
Only administrator and system administrator can view this page.
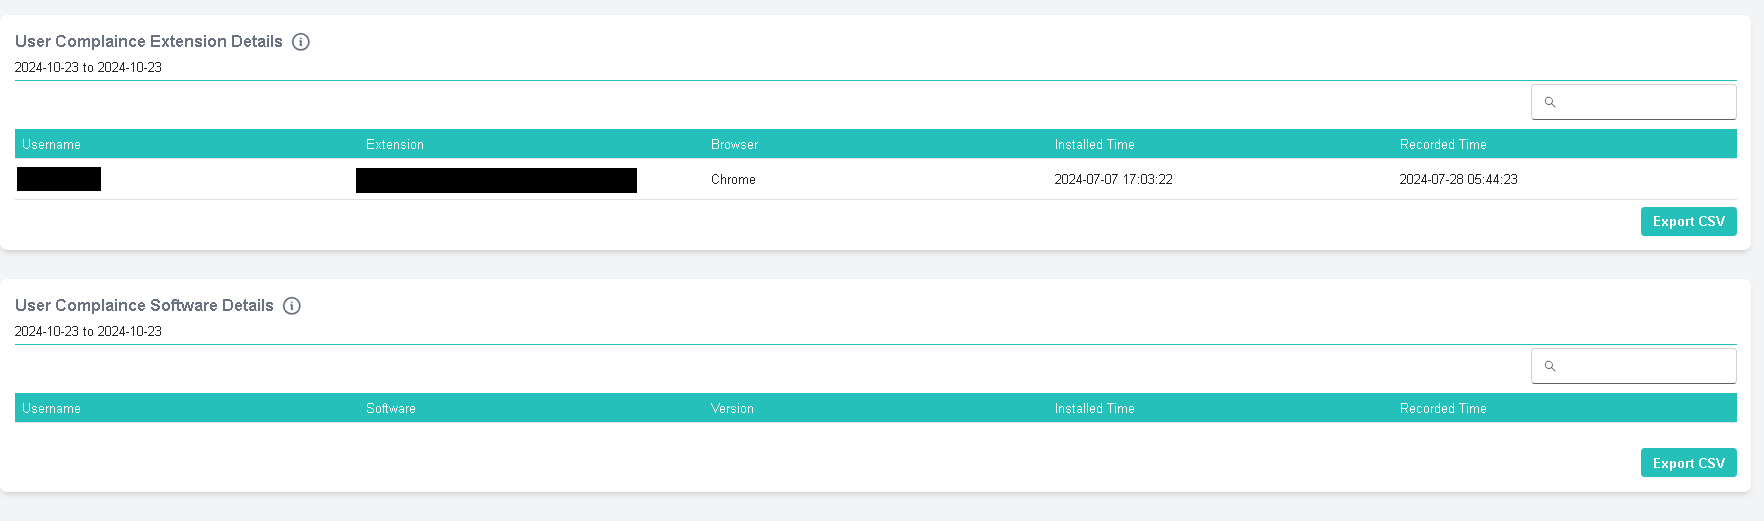
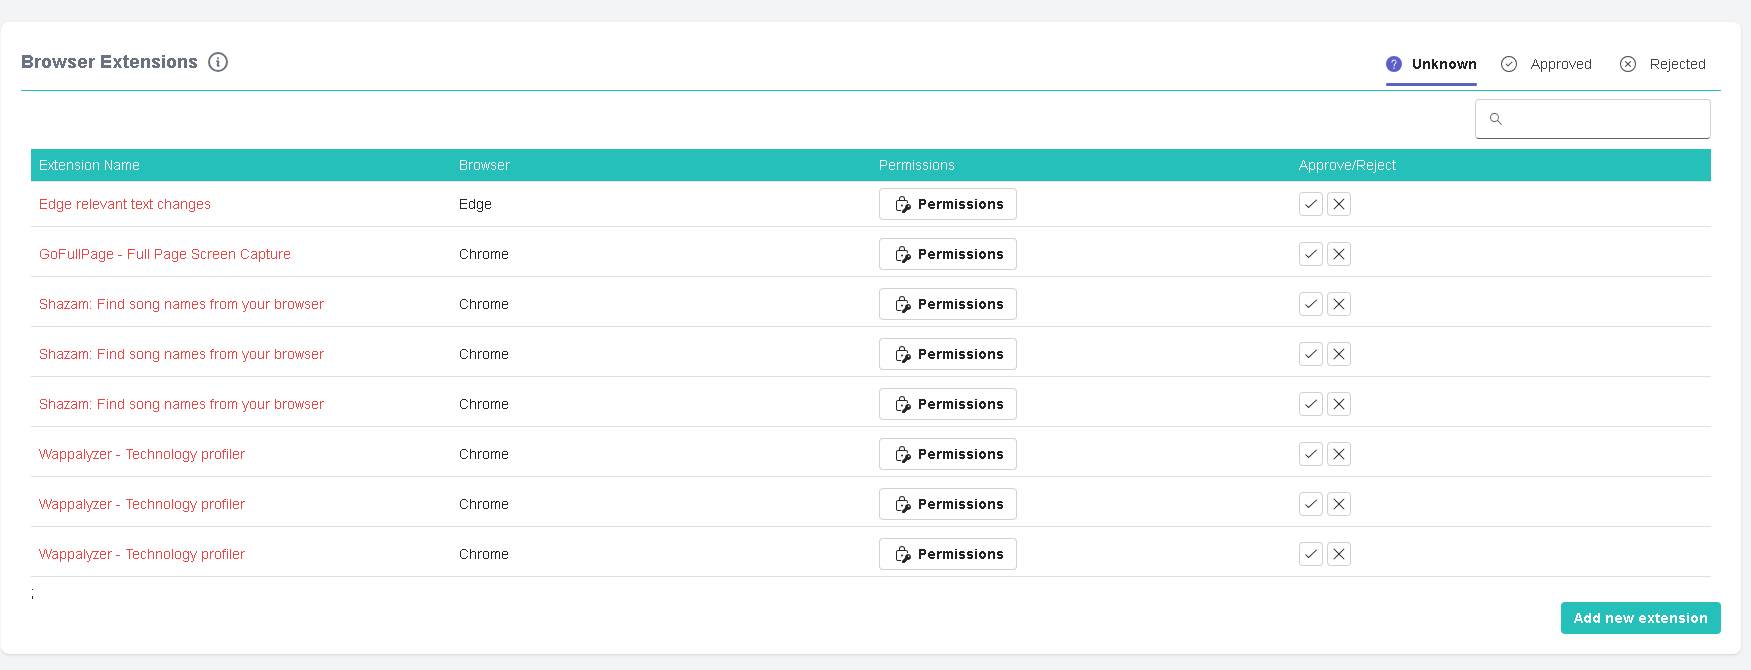
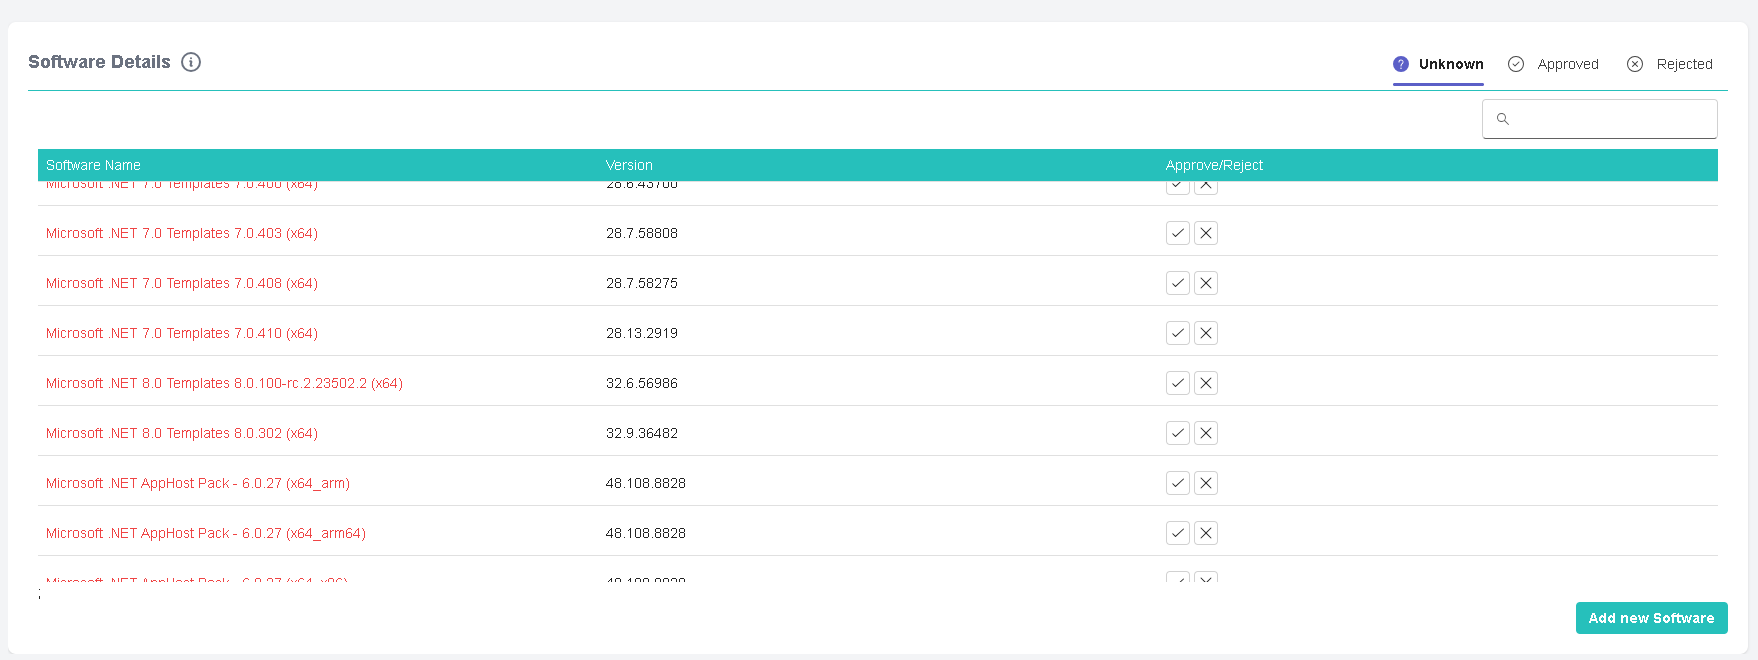
In this section, you can view a list of browser extensions and software installed by all employees. Administrators and System Administrators have the authority to approve or reject extensions and software based on their functionality and security. If an extension or software is rejected, an email notification will be sent to employees currently using them. This email will be sent every 3 hours until the employee uninstalls the rejected extension or software.
Employee Compliance
Note
Only administrator and system administrator can view this page.
In this section, you can view the history of employees who have installed rejected browser extensions or software, along with the number of days they have used them. These details can also be exported as a CSV file.